
Last updated: 9 September 2026
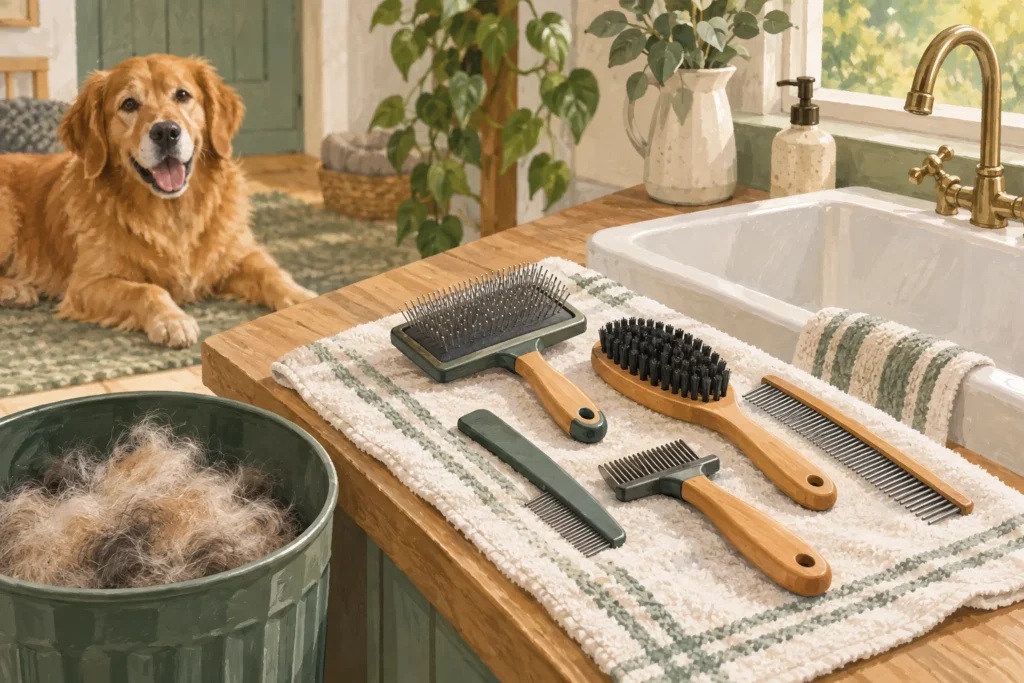
To clean dog brushes and combs, remove trapped hair first, follow the tool’s material-specific washing instructions and dry it fully before storage. Do not put every item in the same soaking bowl. Metal teeth, wooden handles, cushioned brush heads and electrical clippers can require very different care.
This article contains Amazon affiliate links. As an Amazon Associate, we earn from qualifying purchases.
Table of Contents
Sort the tools before adding water
Lay out what you use and identify each item’s construction. Look for a rubber cushion beneath pins, glued sections, hollow handles, rotating parts or electrical components. Read the manufacturer’s directions where available; if they are missing, ask before immersing a tool whose construction is uncertain.
Wahl publishes a cleaning guide for grooming tools, but the instructions for the particular product still matter. A process suitable for a simple comb should not automatically be applied to a brush with a wooden handle or an electric clipper.
| Tool | First cleaning step | Part to protect |
|---|---|---|
| Simple metal comb | Remove hair from between the teeth. | Any coating, joints or attached handle. |
| Pin or slicker brush | Lift hair carefully without bending the pins. | Cushion, pin attachments and handle. |
| Bristle brush | Clear loose hair and debris from the bristles. | Areas where water can remain trapped. |
| Electric clipper | Switch off and follow its separate maintenance instructions. | Motor, battery and non-washable housing. |
Remove hair without damaging the working surface
Use your fingers or a suitable small cleaning tool to lift accumulated hair away. Work gently around pins and teeth. Bending them during cleaning can create an uncomfortable grooming surface even if the brush looks tidier afterwards.
Find grooming-brush cleaning tools on Amazon UK. Choose a cleaning accessory you can control around the actual brush rather than scraping hard with a sharp object. For a lightly used comb, a simple soft cloth may be sufficient after loose hair is removed.
Wash only as the construction permits
Where washing is allowed, use the cleaning product and water conditions recommended by the manufacturer. Clean the areas that contact the coat and rinse away residue as directed. Avoid leaving a tool soaking indefinitely because you became distracted.
Do not mix household chemicals or assume a strong scent means better hygiene. If disinfection is required because of a skin infection, parasites or professional use, ask your vet, groomer or tool manufacturer about an appropriate compatible process.
Dry the hidden parts as well as the visible ones
Wipe off accessible moisture and allow the tool to dry fully in a suitable ventilated place. Water may remain around a cushion, in a rotating-tooth joint or where the handle meets the head. Packing it straight into a zipped bag can trap that moisture.
Keep drying tools away from the dog, particularly if small cleaning accessories or detachable parts are present. Do not use a high heat source to hurry the process unless the manufacturer explicitly permits it.
Inspect for wear before the next session
Check for bent teeth, missing pin tips, rough edges, a loose handle and cracked surfaces. Replace or repair as the manufacturer allows. A favourite comb that catches the coat because a tooth is damaged is no longer the same tool it was when new.
Our dog grooming kit guide can help you replace the item actually needed rather than buying another complete set. Keeping fewer well-maintained tools can make the routine simpler.
Keep clean and used equipment separate
Choose a dry storage place and return tools only after they are clean and ready. If grooming more than one dog, avoid sharing unclean tools, particularly when a skin problem is suspected. Label individual equipment if that helps the household follow the arrangement.
Remove hair after each session and schedule a more thorough clean according to use and the product directions. This prevents a large buildup becoming a difficult job. Grooming remains an opportunity to notice the dog’s skin and comfort; cleaning the tools should support that care rather than become an elaborate chemical routine.