
Last updated: 9 September 2026
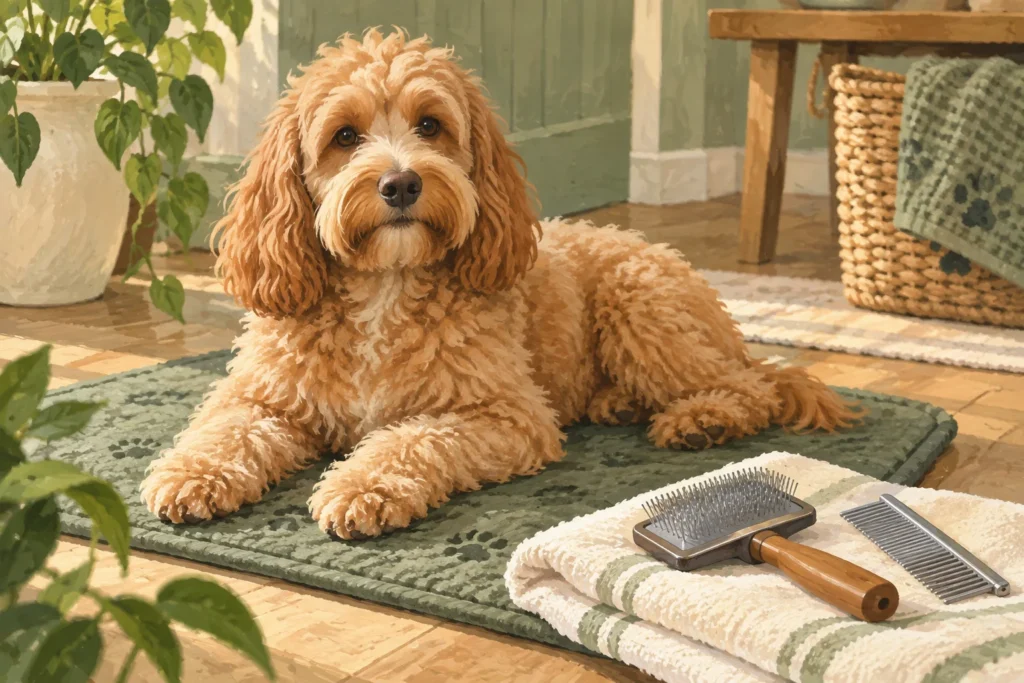
The best slicker brush for a Cockapoo depends on the individual coat’s length, density and condition, plus the technique the owner can use comfortably. A breed name on a listing is not enough. Compare a flexible-head design such as the Mikki Classic Pro Slicker with a long-pin option such as the Chris Christensen Big G, and ask your groomer which construction suits your dog.
This article contains Amazon affiliate links. As an Amazon Associate, we earn from qualifying purchases.
This is a source-based tool comparison. We have not measured brushing time or tested either brush on a panel of Cockapoos, so the recommendations focus on features and appropriate use rather than performance rankings.
Table of Contents
Two designs worth investigating
| Brush | Published construction | Who should investigate it? |
|---|---|---|
| Mikki Classic Pro Slicker | A flexible head; marketed for curly, wiry or thick coats. | Owners comparing an adaptable head after a coat-specific grooming demonstration. |
| Chris Christensen Big G | Long 27mm pins, a cushioned pad and several head sizes. | Owners maintaining a longer dense coat with suitable professional guidance. |
Find Mikki Classic Pro Slicker on Amazon UK or Find Chris Christensen Big G slicker brushes on Amazon UK. Match the exact model and size to the manufacturer description. Similar brush colours or photographs do not establish that the pins, density or head dimensions are identical.
Longer pins are not automatically better. They change reach and handling, and an owner still needs to avoid scraping the skin. A shorter maintained coat may call for a different brush from a long, dense coat on another Cockapoo.
Start with the current coat condition
Ask your groomer to identify the coat you are maintaining and demonstrate the daily or between-appointment routine it needs. Bring the brush you already own. You may need a technique adjustment or a different head size rather than a more expensive tool.
Check whether the coat is freely separable or contains tight mats. PDSA advises against tackling mats at home. Do not use a new slicker as a reason to pull through a painful compacted area, and do not cut close-to-skin mats out with scissors.
If the skin looks sore or there is a sudden change in coat condition or tolerance, seek veterinary advice. A grooming purchase should not conceal a possible health problem.
Compare head size and your grip
A large head covers a broad area but can be awkward around small contours. A smaller head may offer easier control for a small dog or specific areas. Check the actual dimensions and ask whether one brush can handle the intended routine.
Hold the handle before buying where possible. Consider whether you can maintain light controlled strokes without gripping tightly. An ergonomic claim on a page does not prove a handle will suit your hand or wrist.
Compare the cost of one appropriate brush and comb with a large grooming set. Several unsuitable tools are less useful than two tools you know how to use correctly. Our grooming-kit guide discusses broader kit choices.
Learn a section-by-section routine
Ask for a demonstration of separating small sections and brushing with light strokes in the appropriate direction, without repeatedly working the same skin area. Keep sessions short enough for the dog to remain comfortable, and give them a stable surface.
A suitable comb can help check whether the apparently tidy surface hides tangles beneath. Use it gently; if it catches, stop and assess the area rather than dragging it through. The point is to detect a problem early, not to force the comb from root to tip regardless of resistance.
Pay attention to what your groomer identifies as problem areas for your dog, including where clothing or equipment contacts the coat. Do not assume a quick brush over the back represents the whole grooming job.
Keep the brush in usable condition
Remove collected hair carefully and clean the brush according to the maker’s directions. Inspect for bent, broken or rough pins before use. Store it dry and where the dog cannot chew the handle or pad.
Reassess the brush after a significant haircut or coat change. The tool chosen for a long winter style may be unnecessary for a shorter practical trim. Likewise, a routine that worked for a young puppy may need adjustment as its coat develops.
Choose support as well as a product
The strongest purchase decision combines a suitable pin and head design with a demonstrated routine. If you cannot maintain the chosen coat length comfortably, discuss a more manageable style and appointment schedule with the groomer.
For general loose-hair tools, see our shedding-brush guide. A slicker and a deshedding tool have different roles; buying one does not make every other grooming task unnecessary.